Overview
The easiest way to get started is with the provided CloudFormation template, which contains a typical deployment suitable for the majority of scenarios.
By default, this template should be launched into your existing VPC.
It is recommended that the stack is given the name bucketbridge. If you are
creating multiple separate BucketBridge stacks, you should ensure that each
stack name is unique.
Launching in a new VPC
You can use BucketBridge completely isolated from the rest of your AWS infrastructure. This is especially useful to try out BucketBridge.
Please note that as a protocol from the 1970s, FTP lacks many of the security features that are standard in modern protocols, in particular encryption in transit. You should read the security considerations document before using BucketBridge in a production environment.
To try out BucketBridge in a new VPC:
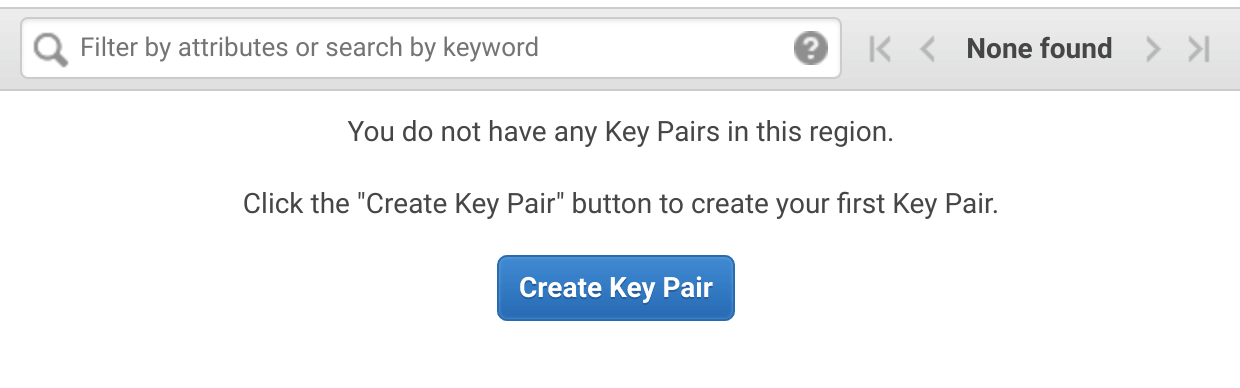
- Before you begin, ensure you have a valid key pair in the region in which you
wish to launch the template. You can do this by visiting the EC2 console
key pair page.
If no key pairs are shown, select Create Key Pair and create a new key
pair.
- Visit the subscription page and click Continue to Subscribe
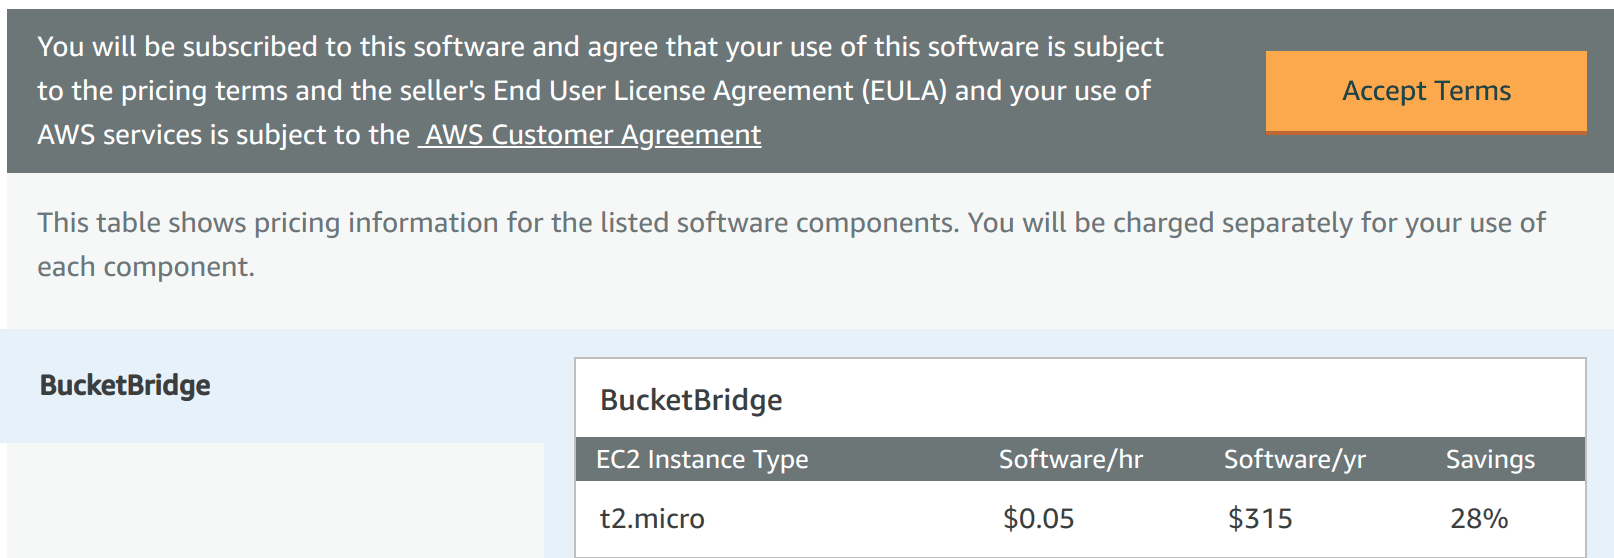
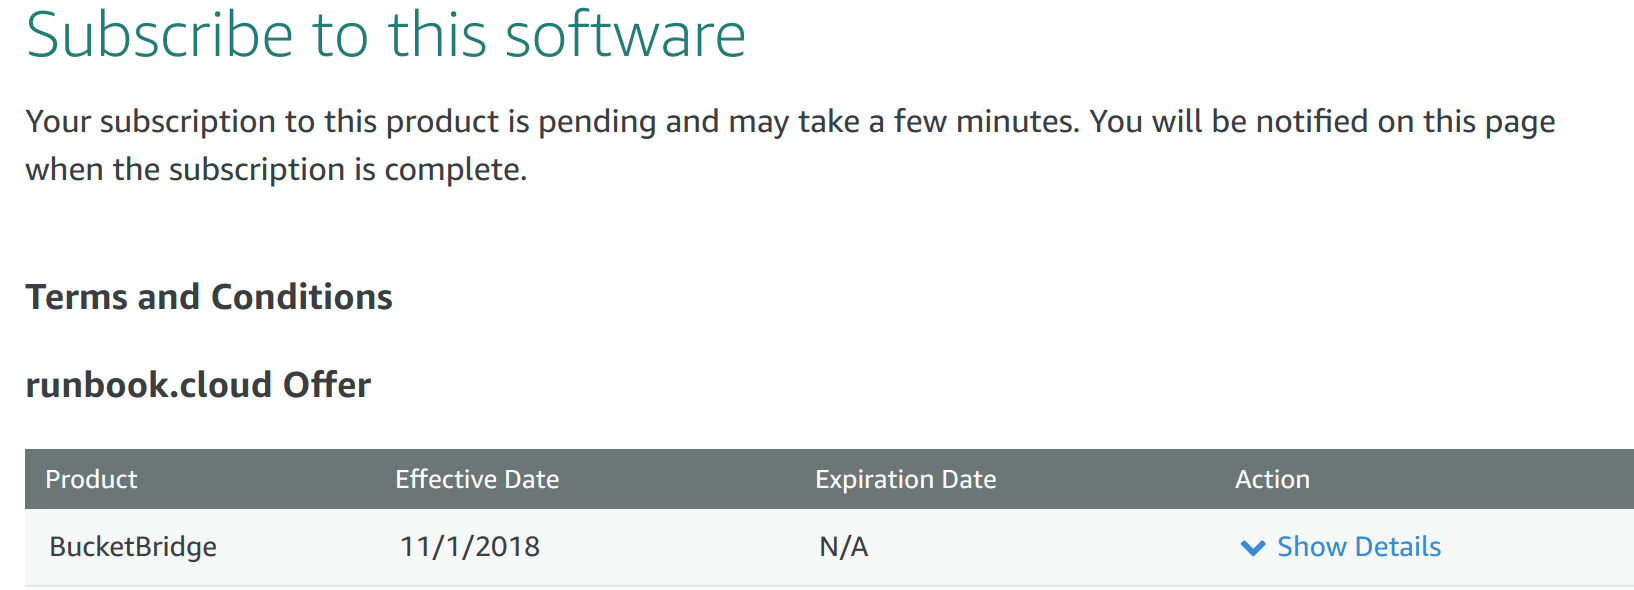
- Subscribe, and wait for the subscription to be confirmed. This may take a
minute or two.
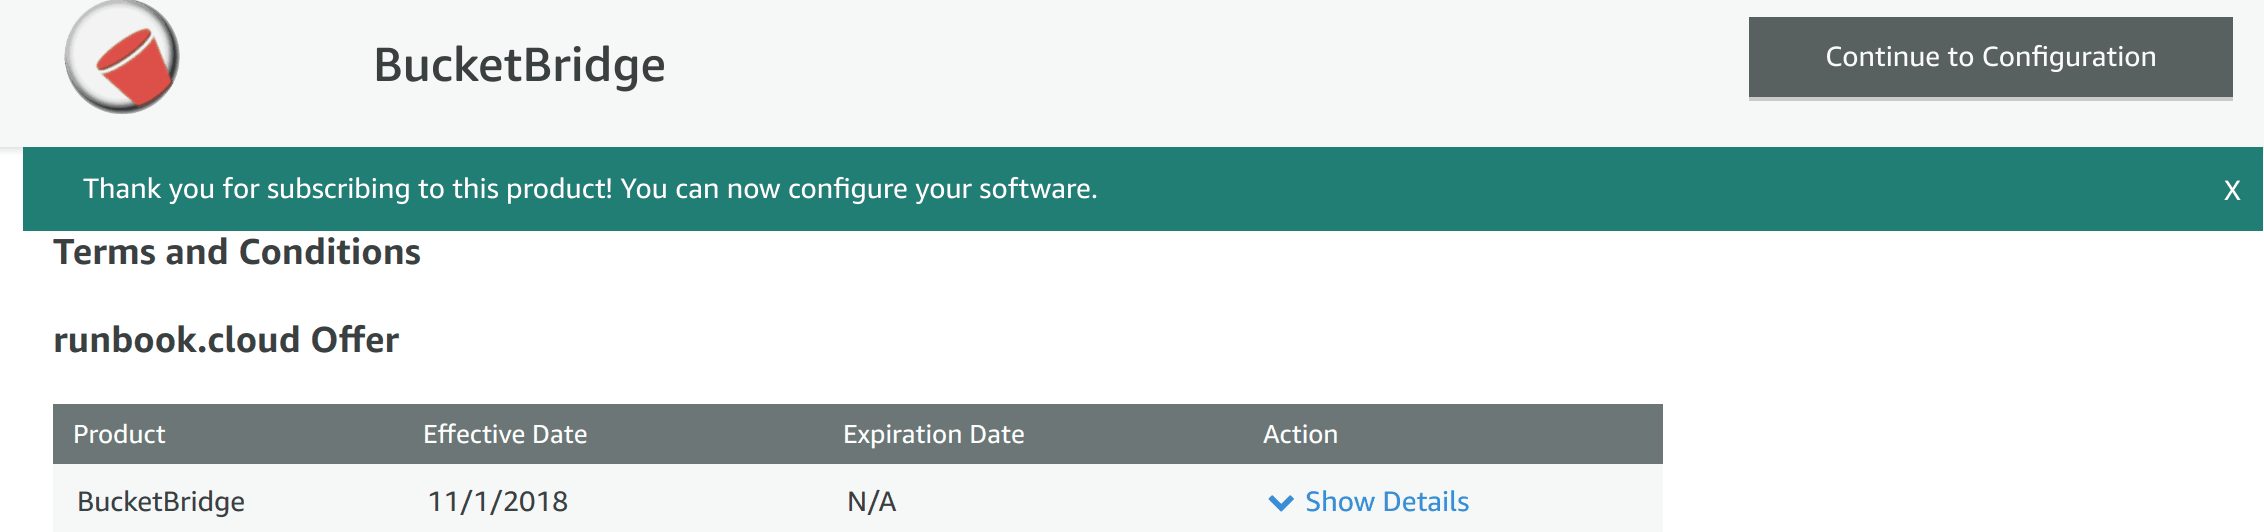
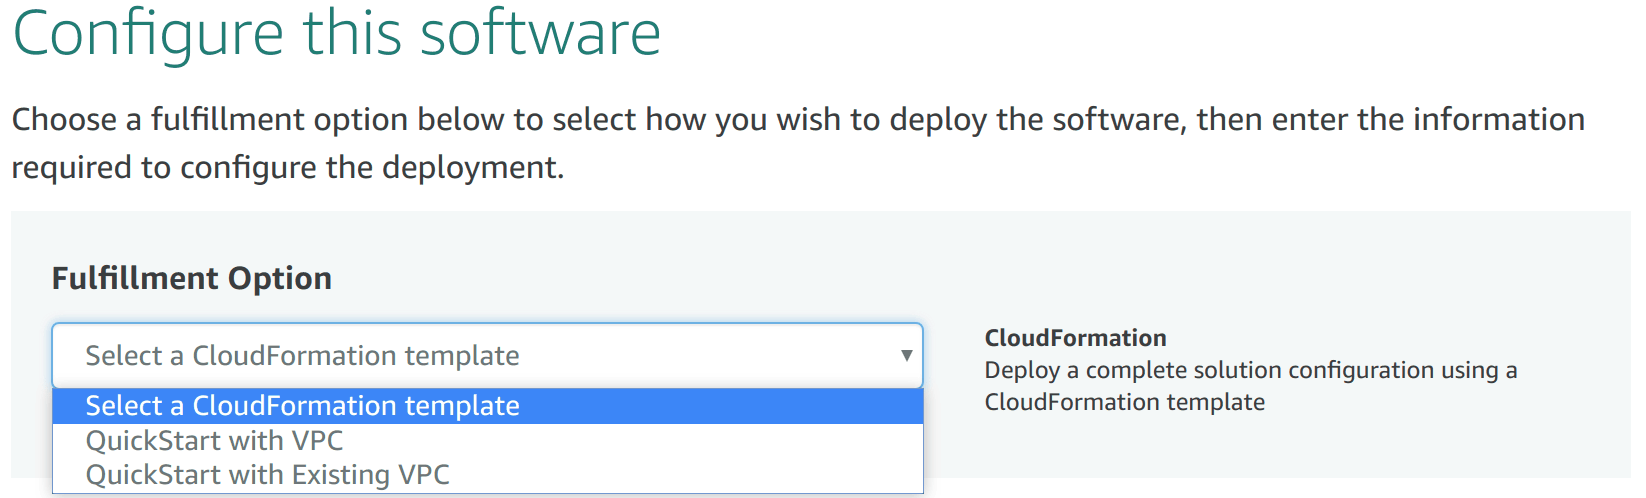
- Select Continue to Configuration
- Select QuickStart with VPC and the region you wish to use and
then Continue to Launch to launch the CloudFormation stack. You can select
the instance type to use when launching the CloudFormation stack.
- Choose the key pair to use (from step 1), and the FTP and SSH CIDR ranges to
use. You can enter
0.0.0.0/0to allow traffic from anywhere on the Internet. - Choose the instance type to use. Please see the FAQ for information on the number of concurrent users and maximum file size that can be transferred, which varies by instance type.
- When the stack has finished launching, you can select the Outputs tab on
the CloudFormation stack to view details on what has been configured. The
external IP can be found under
PublicIP. You should also make note of the ConfigKMSKey, which is used to encrypt BucketBridge configuration. - Follow instructions on the configuration page to add users.
Launching behind NAT in an existing VPC
Launching your BucketBridge instance behind NAT is the recommended production deployment. Doing this implies that you will be connecting to the BucketBridge instance from inside your VPC, or over a VPN or Direct Connect. Using BucketBridge in this way ensures there is no public Internet access.
To do this:
- Before you begin, ensure you have a valid key pair in the region in which you
wish to launch the template. You can do this by visiting the EC2 console
key pair page.
If no key pairs are shown, select Create Key Pair and create a new key
pair.
- Visit the subscription page and click Continue to Subscribe
- Subscribe, and wait for the subscription to be confirmed. This may take a
minute or two.
- Select Continue to Configuration
- Select QuickStart with Existing VPC and the region you wish to use and
then Continue to Launch to launch the CloudFormation stack. You can select
the instance type to use when launching the CloudFormation stack.
- Select the VPC you will be accessing BucketBridge from and/or your VPN is connected to
- Select a subnet with a NAT Gateway or NAT instance
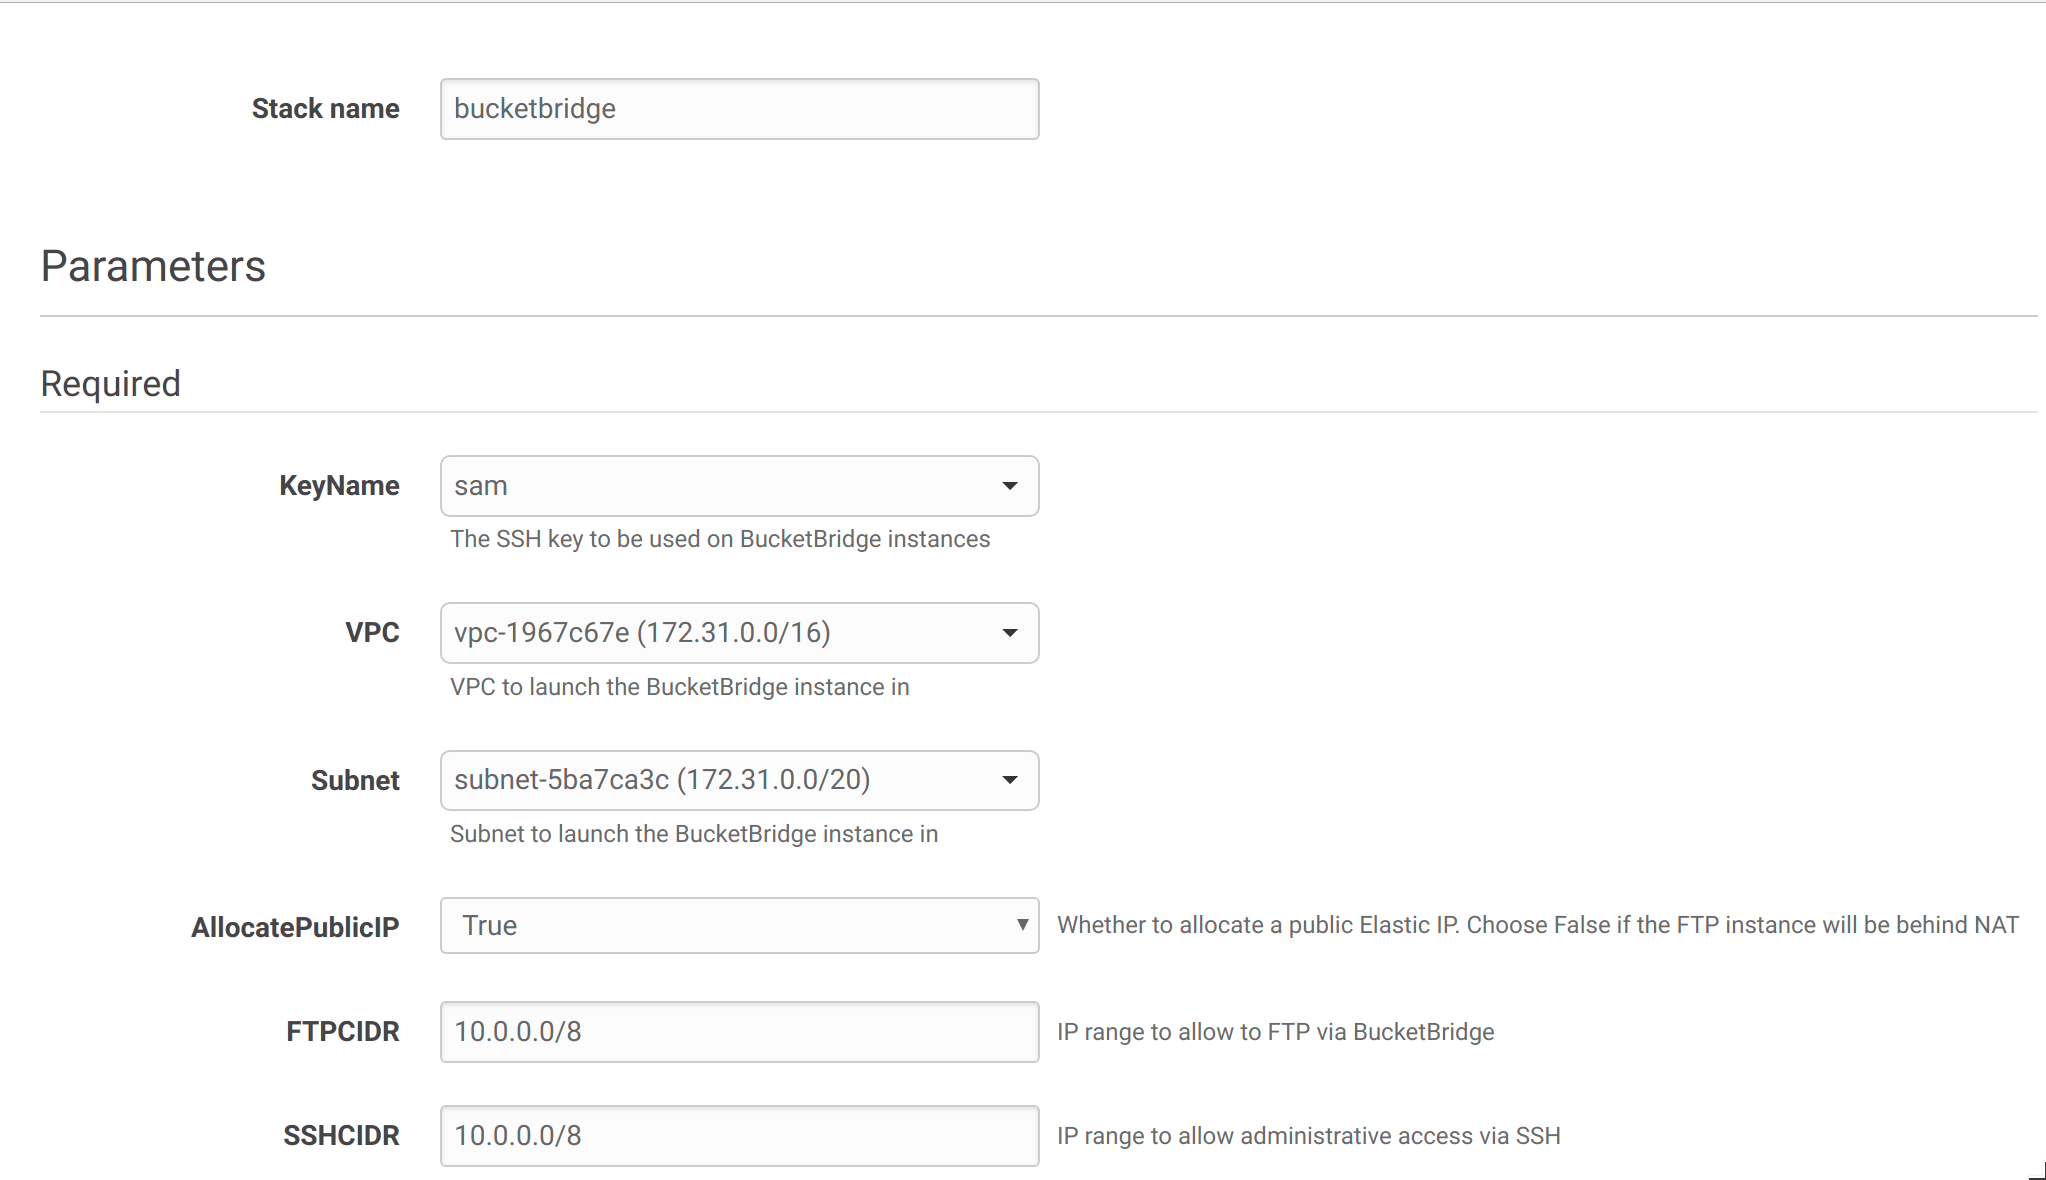
- Select False for AllocatePublicIP
- Enter a CIDR block to limit access to BucketBridge, or
0.0.0.0/0to allow all instances inside or connected to the VPC to connect - Enter a CIDR block to limit administrative SSH access to BucketBridge, or
0.0.0.0/0to allow all instances inside or connected to the VPC to connect - Choose the instance type to use. Please see the FAQ for information on the number of concurrent users and maximum file size that can be transferred, which varies by instance type.
- When the stack has finished launching, you can select the Outputs tab on
the CloudFormation stack to view details on what has been configured. The
external IP can be found under
PublicIP, the private IP underPrivateIP. You should also make note of the ConfigKMSKey, which is used to encrypt BucketBridge configuration. - Follow instructions on the configuration page to add users.